
The sun won’t be up for another hour on this cold crisp March morning in Southern Michigan. It has taken three trips to carry my gear down to the water’s edge. As I begin to assemble my craft by the narrow beam of my headlamp, I hear splashes and the rustling of my quarry from the other side of the pond. I step into my neoprene hip waders, they feel especially snug today, since on this cold morning I am wearing two pairs of long underwear beneath my jeans. A heavy jacket, gloves, and a woolen hat finish off my uniform. I step into the water, and as I close the blind around me the darkness is complete with the exception of the faint shafts of light coming through the peepholes strategically placed in the canopy. I begin to work my way out into the pond, I try to be as quiet as possible, as my craft breaks through the thin skiff of ice that has formed overnight around the edges of the pond. Progress is slow not only because the muck sucks at my feet with every step, but I also have to work my way around the fallen trees and limbs hidden beneath the water. I wade out until the water is up to the middle of my chest. This puts the camera mounted on the deck at eye-level. I finally make my way to the other side of the pond and I wait, I wait for my quarry to accept my blind and I wait for the light.
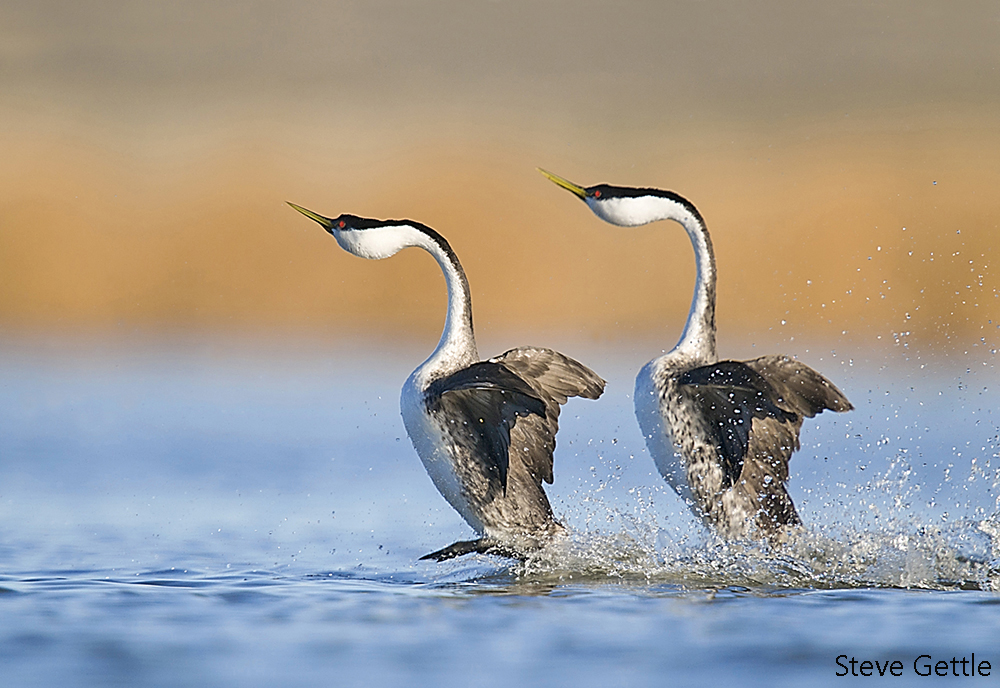
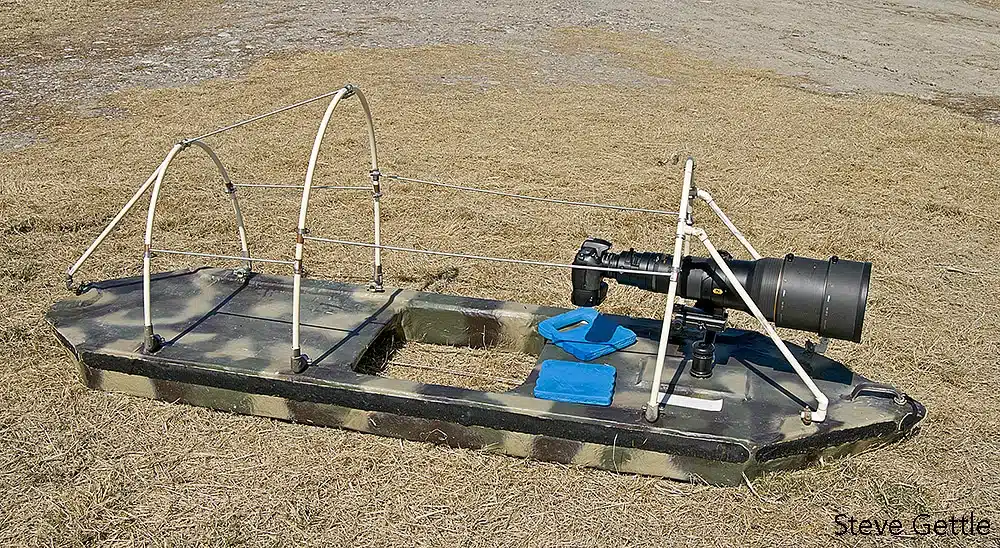
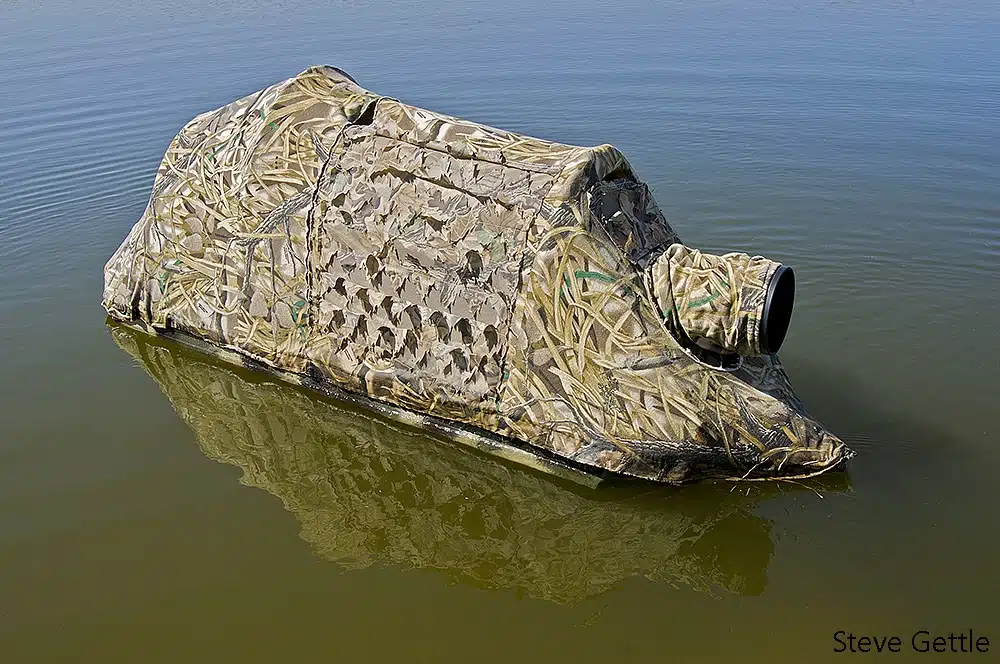
If this sounds like fun to you, then you must be a nature photographer, and you really should consider building a floating blind. A floating blind is basically a floating deck with a canopy designed to resemble a muskrat house. The deck of the craft has a hole where the photographer stands allowing them to walk along the bottom of the pond. The camera is placed on a tripod head mounted directly on the deck of the “boat” in front of the photographer. I use my floating blind mostly to photograph waterfowl as they pass through southern Michigan on their race north to find nesting sites. However I have also photographed turtles, white-tailed deer, raccoons, and even turkey as they have fed along the edge of the water.

Unless the birds have been acclimated to you and the blind I would recommend 400mm or greater lens for this type of photography. I generally use my 600mm and will often add the 1.4 tele-converter if I need more reach. That being said, I have had ducks come up and peck at the base of my blind. In fact one day in North Dakota a beaver tried to climb on top of my “muskrat house”. I can tell you when he slapped his tail on the water in frustration it certainly got my attention.
Since I am often shooting with a long lens and I am not mounted on a tripod good technique is absolutely necessary for sharp pictures. I try to keep my shutter speeds as high as possible and when I fire the camera I use my elbows to apply some downward pressure to the deck of the blind to help steady everything. Obviously vibration reduction is a huge asset for this type of photography. I have found when necessary I am able to shoot shutter speeds as slow as 1/125th with a 600 and a 1.4 tele-converter (1260mm 35mm equivalent) by using vibration reduction and excellent technique. I also try to work in protected bays to avoid wind causing waves that would rock the blind too much.

A few years ago I would have never believed that I would actually look forward to the ice going off the lakes. So that I could get up hours before dawn and go out and spend eight hours standing up to my armpits in ice water photographing waterfowl and other wildlife. But as many of you are probably already aware, you only feel the cold… until you start shooting.
Construction
The construction of a floating blind is fairly straightforward. The deck is constructed from two layers of 1½” rigid foam insulation, which is sandwiched between two sheets of ¼ inch marine plywood. Begin by ripping a piece of 1×4 down to the thickness of the two stacked pieces of rigid foam insulation. Run these pieces of wood vertically around the outside length of the boat as well as around the inside of the cockpit to add stability to the deck, these 1x4s will also be the anchor for the screws used to hold the plywood deck and plywood base to your craft. The screws along with construction adhesive are what hold the deck together. To add rigidity to where the tripod head will be mounted remove a 4×4 section of the foam interior and replace the foam with a piece of 4×4 lumber using a 1/4×20 bolt that runs through the center of this 4×4 and the entire thickness of the deck. Leave approximately ½” of thread exposed for mounting the tripod head. A gimbal type head is preferable for this type of photography but a ball head would also work well.
Special Thanks to, Dr. Al Charnley a great photographer who came up with the initial design for the Floating Blind!
Good Luck and Good Light!
Steve